Saturday, November 6, 2010

MY Blog Candy from Penny Black ends 11-8 Wonderful blog candy here at the Daily Marker.  Must enter by 11/8. I just love Kathy's work.  It's worth looking at daily!!

Saturday, October 30, 2010

Brayer Workshop

I thought I'd share the cards I made at Michelle's workshop in Savannah.  It was much fun and I really enjoyed it.  This is the first one we did.  Used a reverse mask to make the mountain...and look at the reflection...pretty cool.
I didn't think I'd like this one, but I do.  We used "Nature Silhouettes" stamp set from Stampin'Up! and "Elements of Style."  We also used Elements of Style on the first one.
This was the last one.  We used Elements of Style stamp set on this one, too.  A white pen was used to highlight the bird and flowers.  I'm a big Michelle Zindorf fan.  Her cards are very unique and uncomplicated.  A lot of the cards I see on blogs are beautiful, but have so many layers, embellishments that I can't seem to keep up.  The flowers that are being made and used on cards are very nice, but I guess they are really practical for mailing.  The cards I make trying to keep up look busy and messy sometimes.  Anyway, I digress.  Hope you are having a great day and I wish you happy card making.

Wednesday, October 27, 2010

Post-it note & Pen

Thought I'd share this little post-it note folder that I made.  I found this template somewhere and can't remember where.  I need a better pen, but haven't really looked.  The stamp is an older stamp set from PaperTrey Ink:  "Autumn Abundance."  I have used these flowers quite a bit.  I colored the image with copics.
And that's the directions.  I used a Cuttlebug embossing folder and inked it on the inside and then embossed with Distressed Ink.  I think it looks nice.  I've been following Jennifer McGuire's "Holiday Thinking Inking" classes on Two Peas in a Bucket and she did the same technique using acrylic paint.

Thursday, October 14, 2010

Brayer Workshop


Tomorrow I'm off to Savannah, Ga. to attend Michelle Zindorf's advanced brayer workshop.  I attended a beginner workshop in Jacksonville, Fl a few months ago.  I'm very excited!  If you aren't acquainted with Michelle's work you should check her out.  She does beautiful work and it's different from many cards you see.  She uses the brayer to create magic.  I did this card last February for my daughter's birthday using one of her tutorials.  That was before the workshop, so all I could do was sponge.  I tried the brayer but couldn't make it look right.  I love the card anyway and so did my daughter.
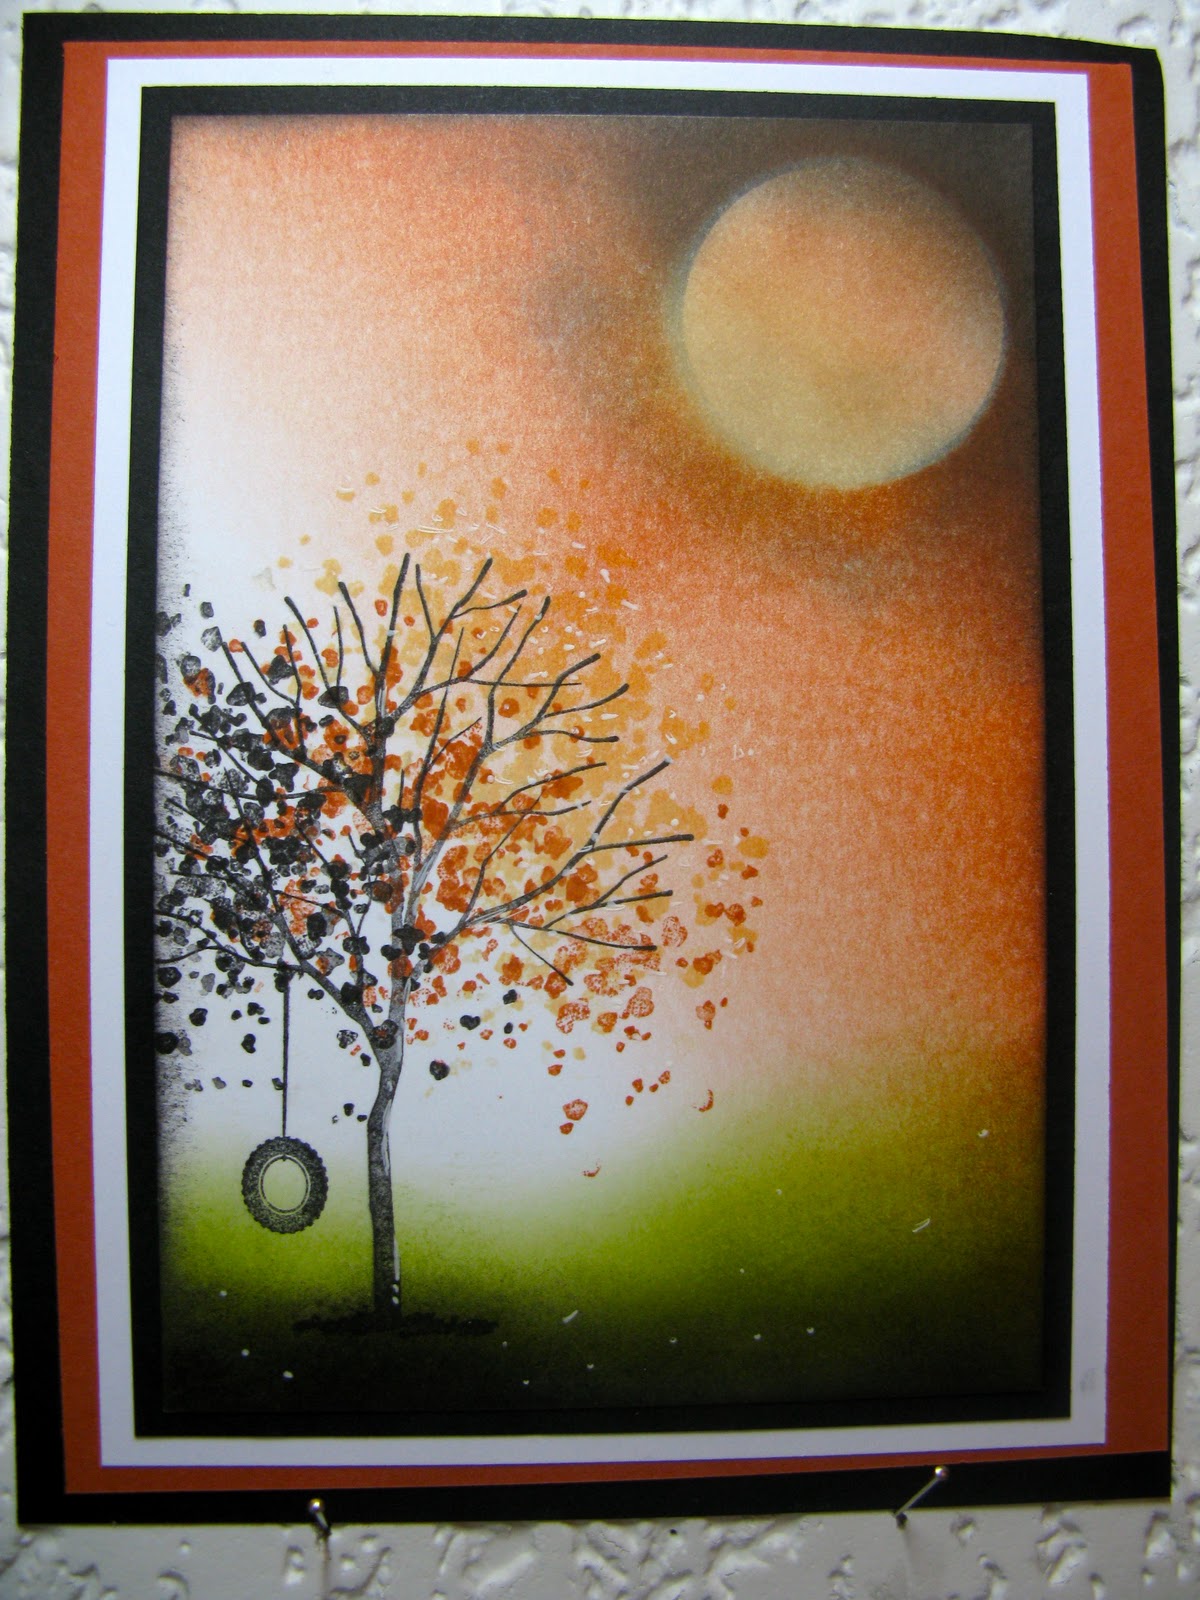

This is one of the cards from her workshop...and I used the brayer.  I just love it.  Anyway here's her blog.  Be prepared to fall in love.  There are so many talented people.

Wednesday, October 13, 2010

Cute Idea for a Desk Calandar

In the small town I live in, we have a handful of wonderful women.  It's our stamp club and our Stampin' Up! lady has some things to make.  The last meeting we made a calendar.  When my uncle came to visit, I sent his wife and daughter one.  It's a simple and easy thing to make and a nice little gift.  The came from Nancy Morgan's blog and Michelle Tech's blog.  The calendar strips can be found here:  http://www.2stampis2b.com/2009/01/four-seasons-calendar.html.  You will have to reduce the size.  I have a Mac so I found the instructions for shrinking didn't work for me.  The base is 5.5 x 8.5, scored at 4.25.  I used basic brown CS and DP from Memory Box for the first quarter.  I put my elements on one half of the CS.  I used Nature's Silhouettes, a Hero Arts stamp set I've had forever.  I'm not sure if they even have this stamp set anymore, but it worked perfectly for this project.

Then the other side of the paper is decorated.  I used "Laundry Line" DP by My Mind's Eye (I just love these papers).  I found it at Hobby Lobby.

On the inside, one side is decorated for July, Aug, Sept.  This DP is from Basic Grey.  I was using up some scraps so I don't know what group of papers this one is from.

And this is the last side.  The DP here is from Club Scrap (I'm not sure if they still have this paper.)  The ribbon is inserted into two holes at the bottom.  This ties it together (wraps it up...haha).  The top photo shows the ribbon tied to make a pretty package.  When June is finished, you turn the calendar around and your ready for the rest of the year.  I used Distress inks:  Victorian Velvet, Stormy Sky, Bundled Sage, and Wild Honey.  Fun!  Fun!  Fun!  The circles are my family's birthdays.  I'm ready for 2011.

Monday, October 11, 2010

Taylored Expressions

A Handcrafted Christmas


Videos from Taylored Expressions that you should check out.

Sunday, October 10, 2010

A little Christmas

It seems a little early for Christmas, but I got these new stamps from JustRite Stamps Vintage Christmas 3-1/4...and we just have to play, don't we?  I was inspired by a card by Lauraly, Just Give Me Stamps.   It's good to get the cards ready and not have to scurry when Christmas comes.  I somehow seem to make all different cards.  I enjoy doing this.  The papers are papers I had left from another year and I'm not sure what they are.  I used copics to color the ornaments.  I cut them out and put them on dimensionals.  I also used Crystal effects on the ornaments, nesties circle and scallop,  ribbon (I think Martha Stewart), and faux stitches.  I really like the colors.  Hope you've had a nice weekend.

My World

My World
Bits and pieces

Travel Book

Travel Book
I love the word books. I used s.e.i "Black Orchid" papers and some of the matching embellishments. After a road trip this summer, this book will be filled with memories. I had so much fun working on this. I think the papers inspired me. I just love them.